
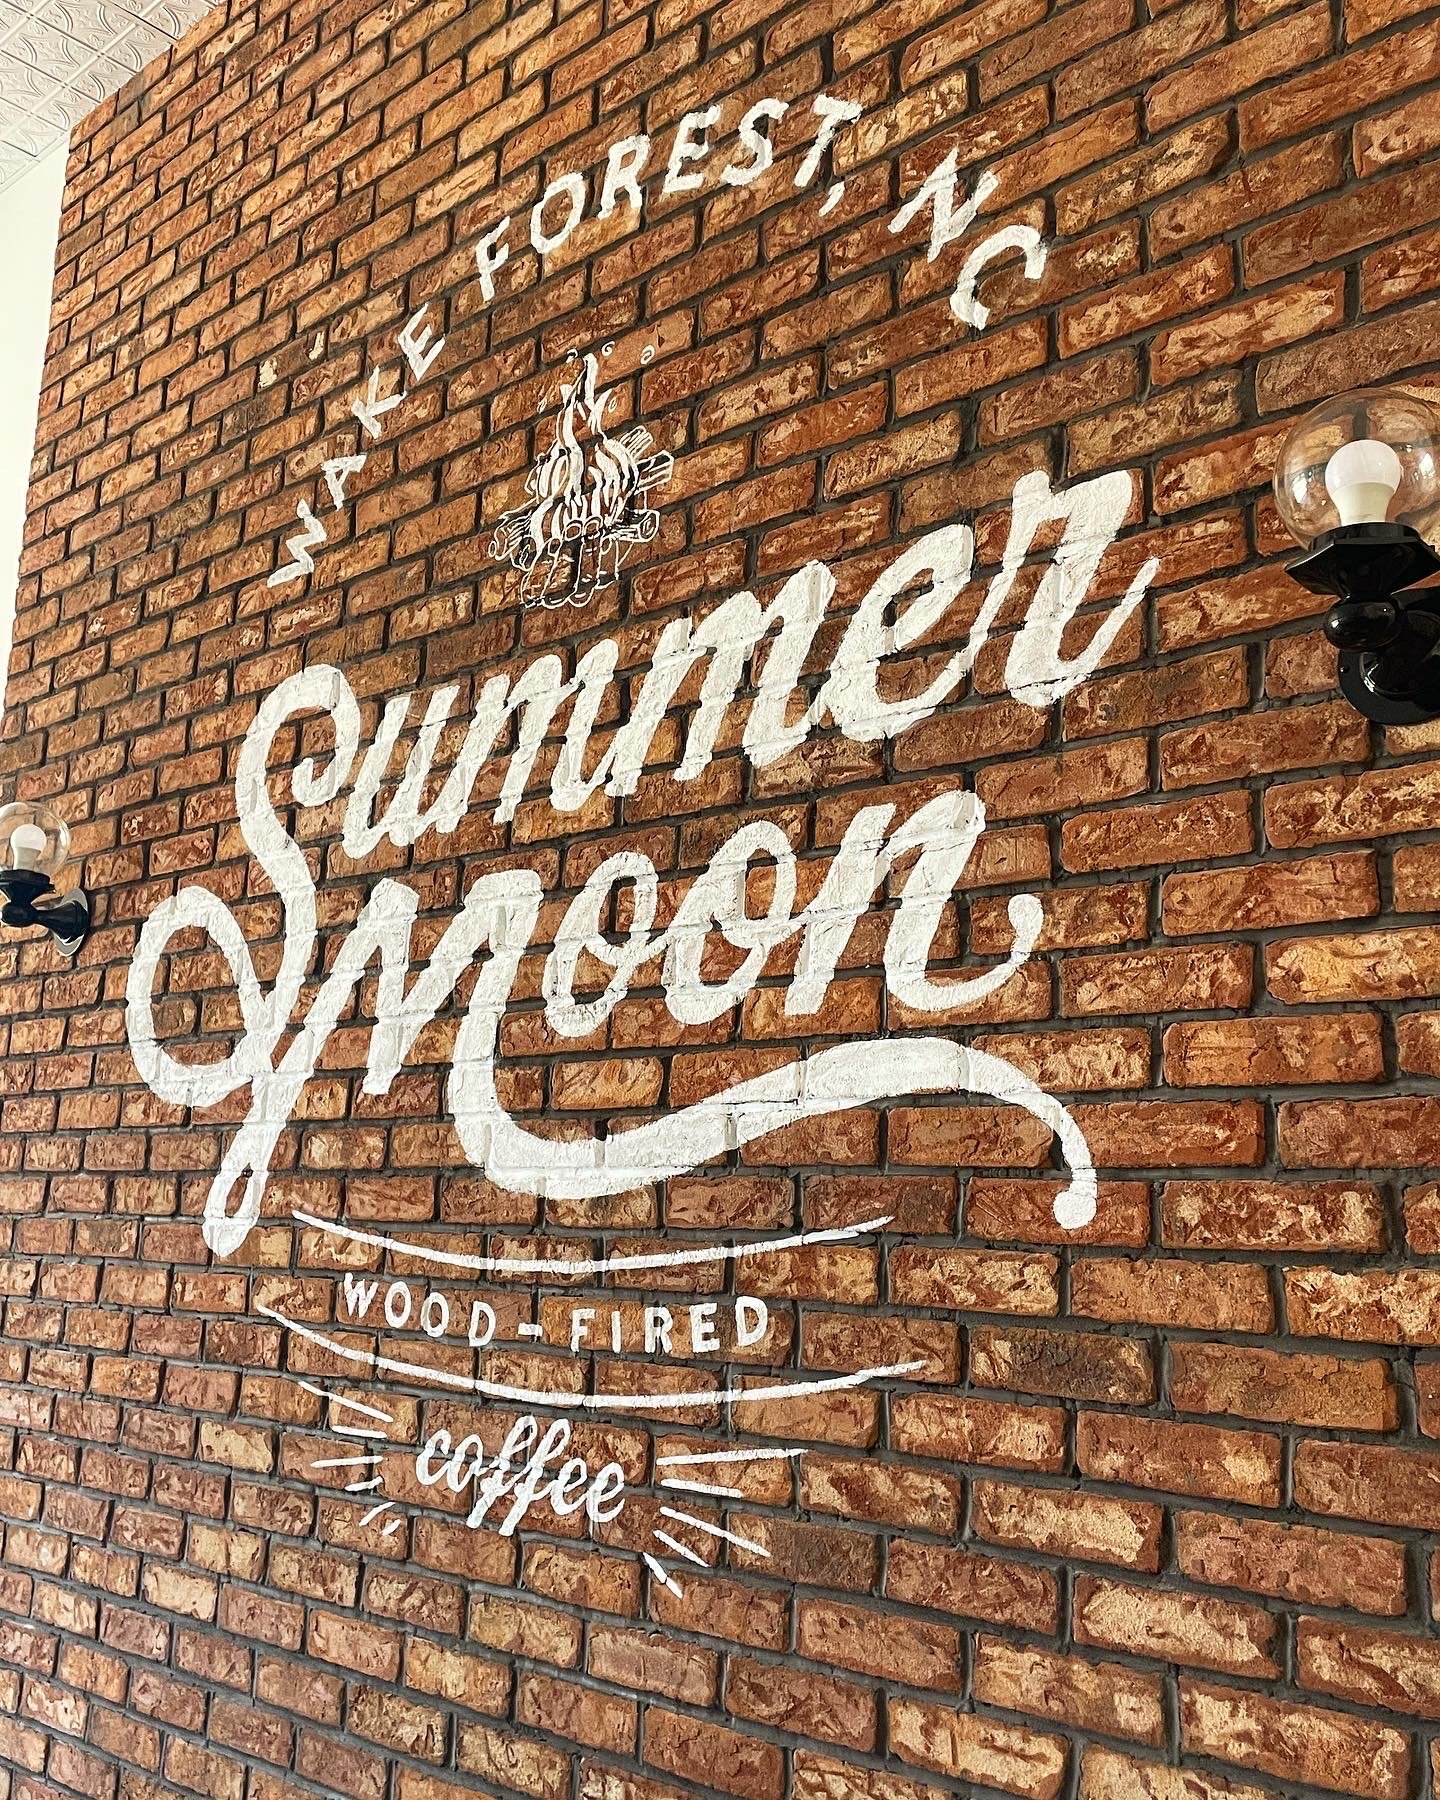
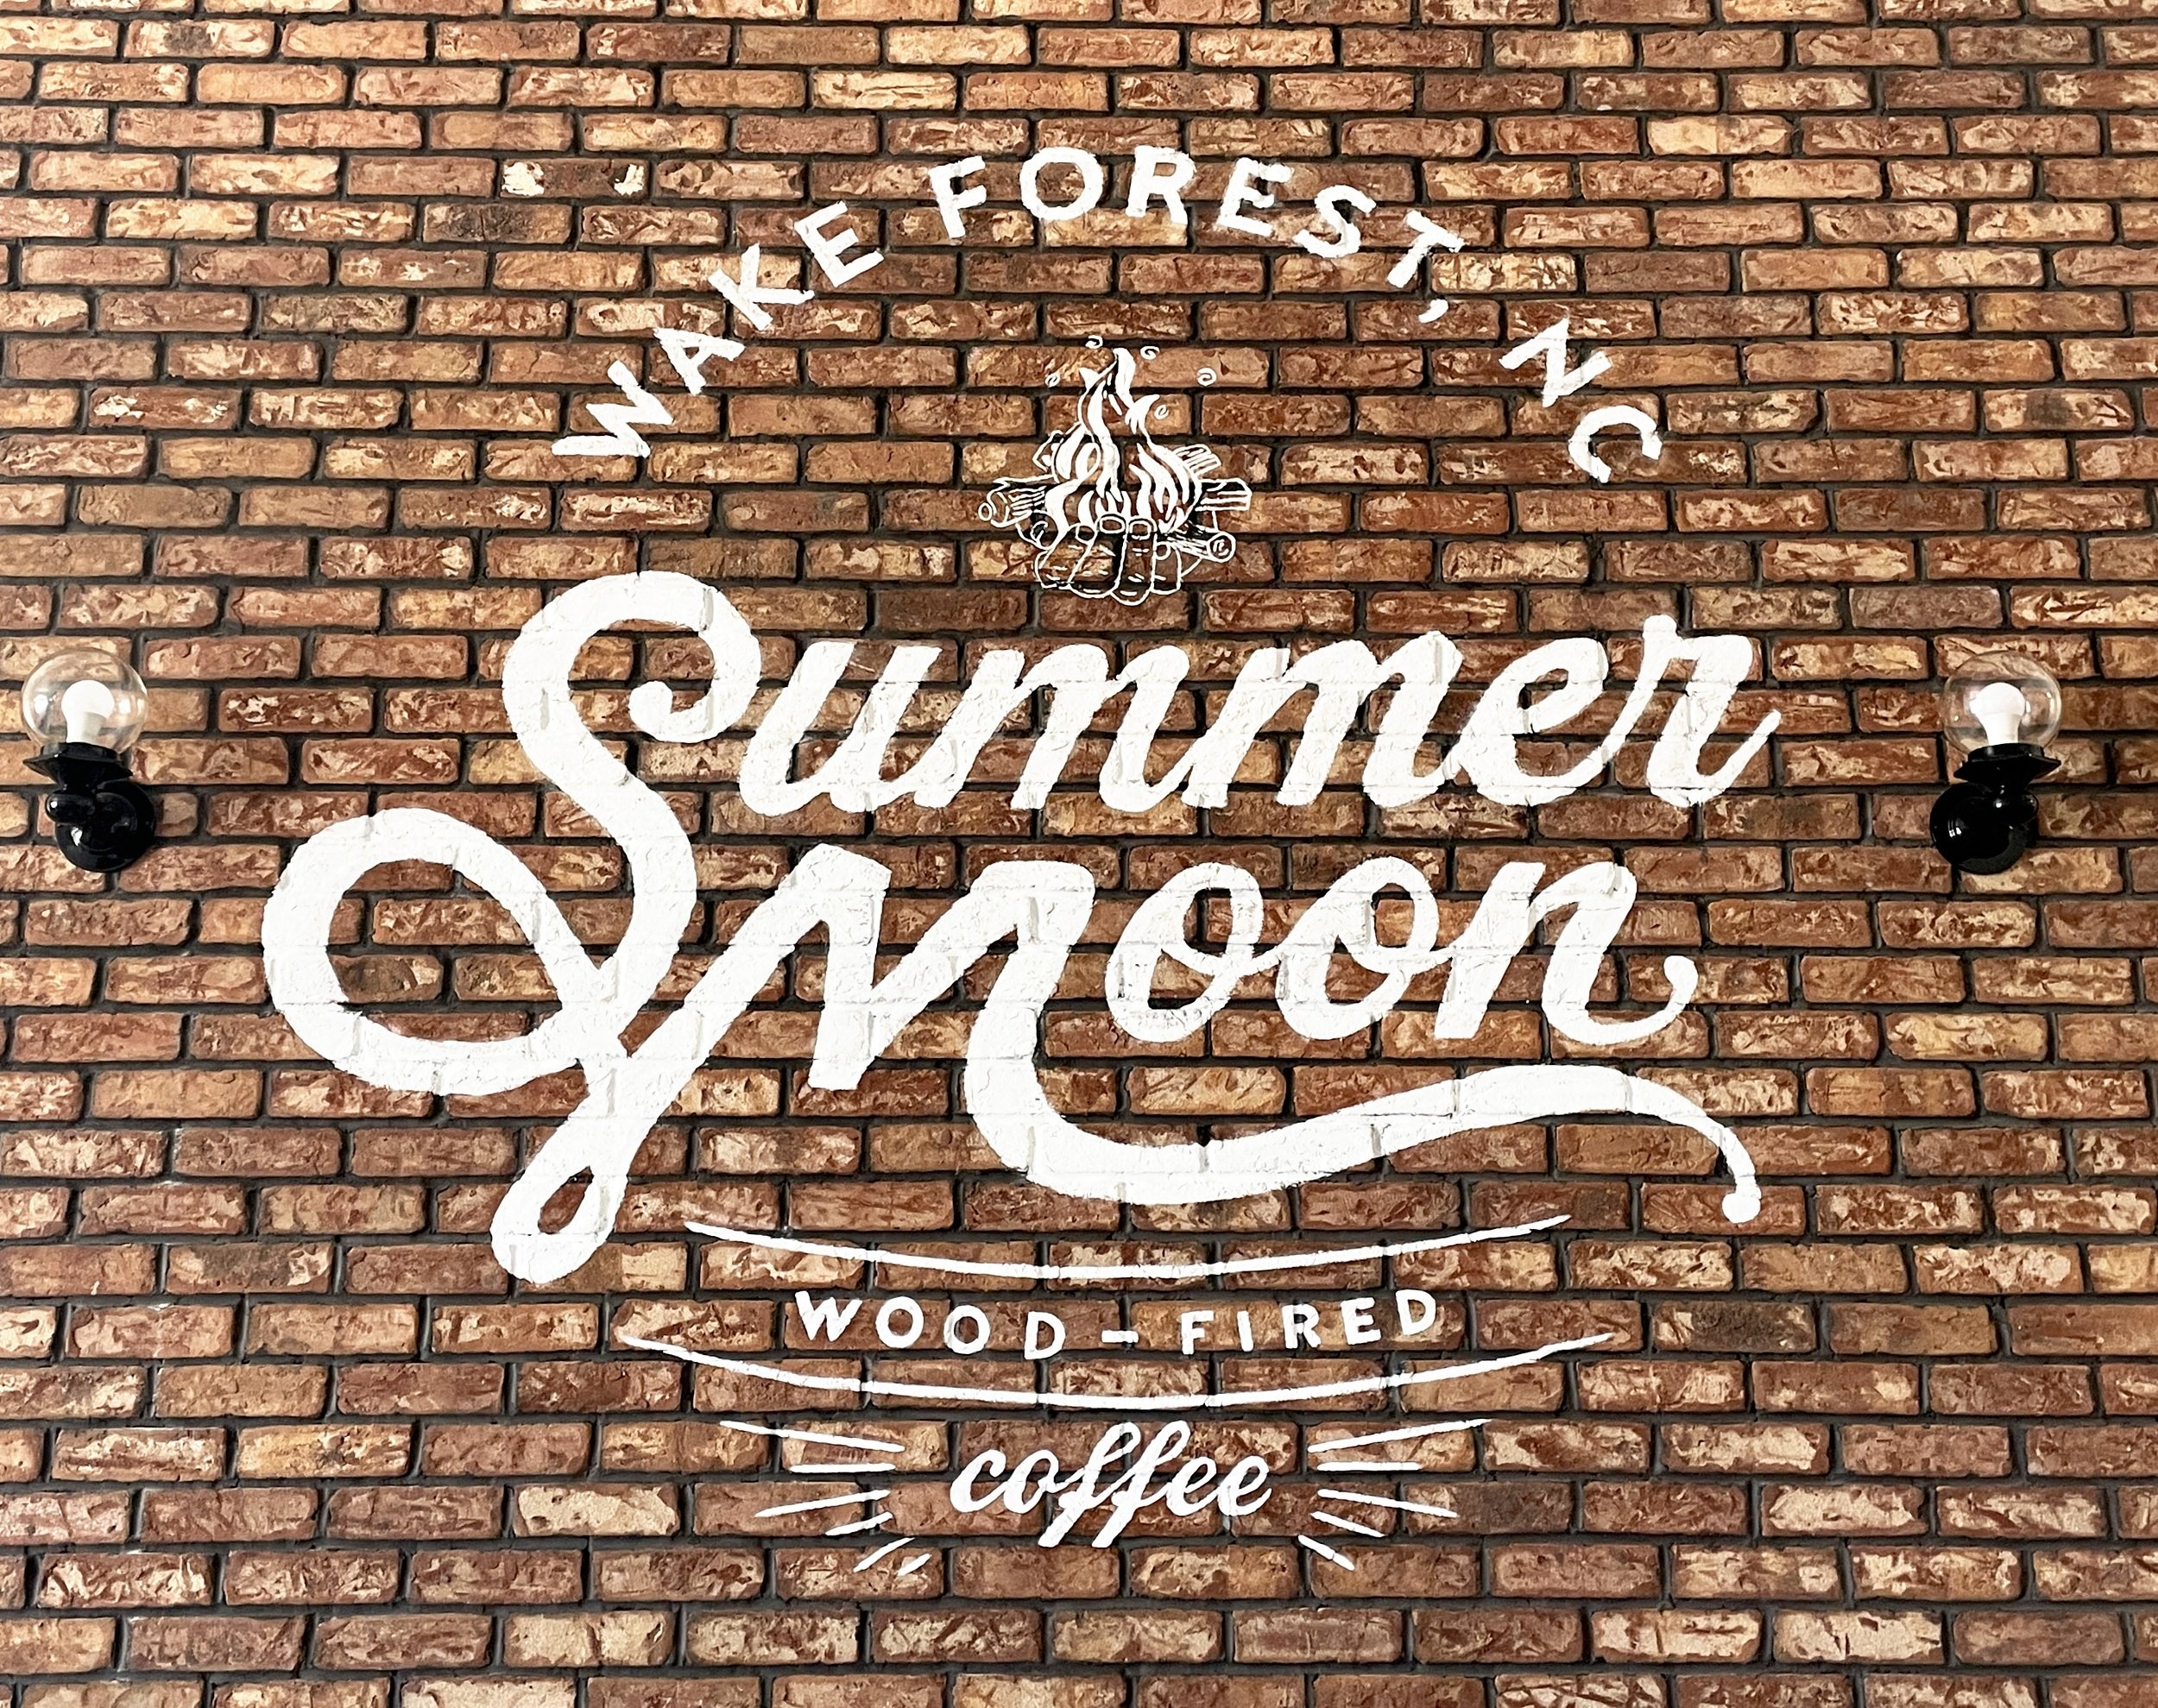
Summer Moon Coffee Shop Mural
My wife and I were commissioned to paint the Summer Moon Wood-Fired coffee shop mural on the large brick wall in the new wake-forest location, which opened on October 29th in 2022. It was a lot of fun, a big challenge, and of course, very rewarding. Below I’ll talk about how we did, the materials we used, and some tricks to get it as clean as we possibly could!
A Word About Brick . . .

You definitely want to set yourself up for success here. Brick is both a tough and forgiving canvas at the same time. If you are about to paint on straight up fresh brick, definitely think again, because you’re going to be painting right on top of fresh red dust, haha. Do your best to clean the area you’re going to paint on. You can do this by getting a course bristle brush, and a really tough wet rag, to wipe away all that fresh dust. I’ll get into why brick is forgiving here a little bit later in the story.
We wanted to be as precise as possible with the measurements that were given by Summer Moon. If we made the mural too low, it would be overlapping with the nice leather booths they would put in at the bottom. If we made it too high, then it would be tough for people to take pictures in front of it. So my advice would be to get several tape measures, and painters tape to make sure you are getting a pretty precise size, as well as finding your center point. There would be nothing worse then making your outline, only to find that it’s off-center.
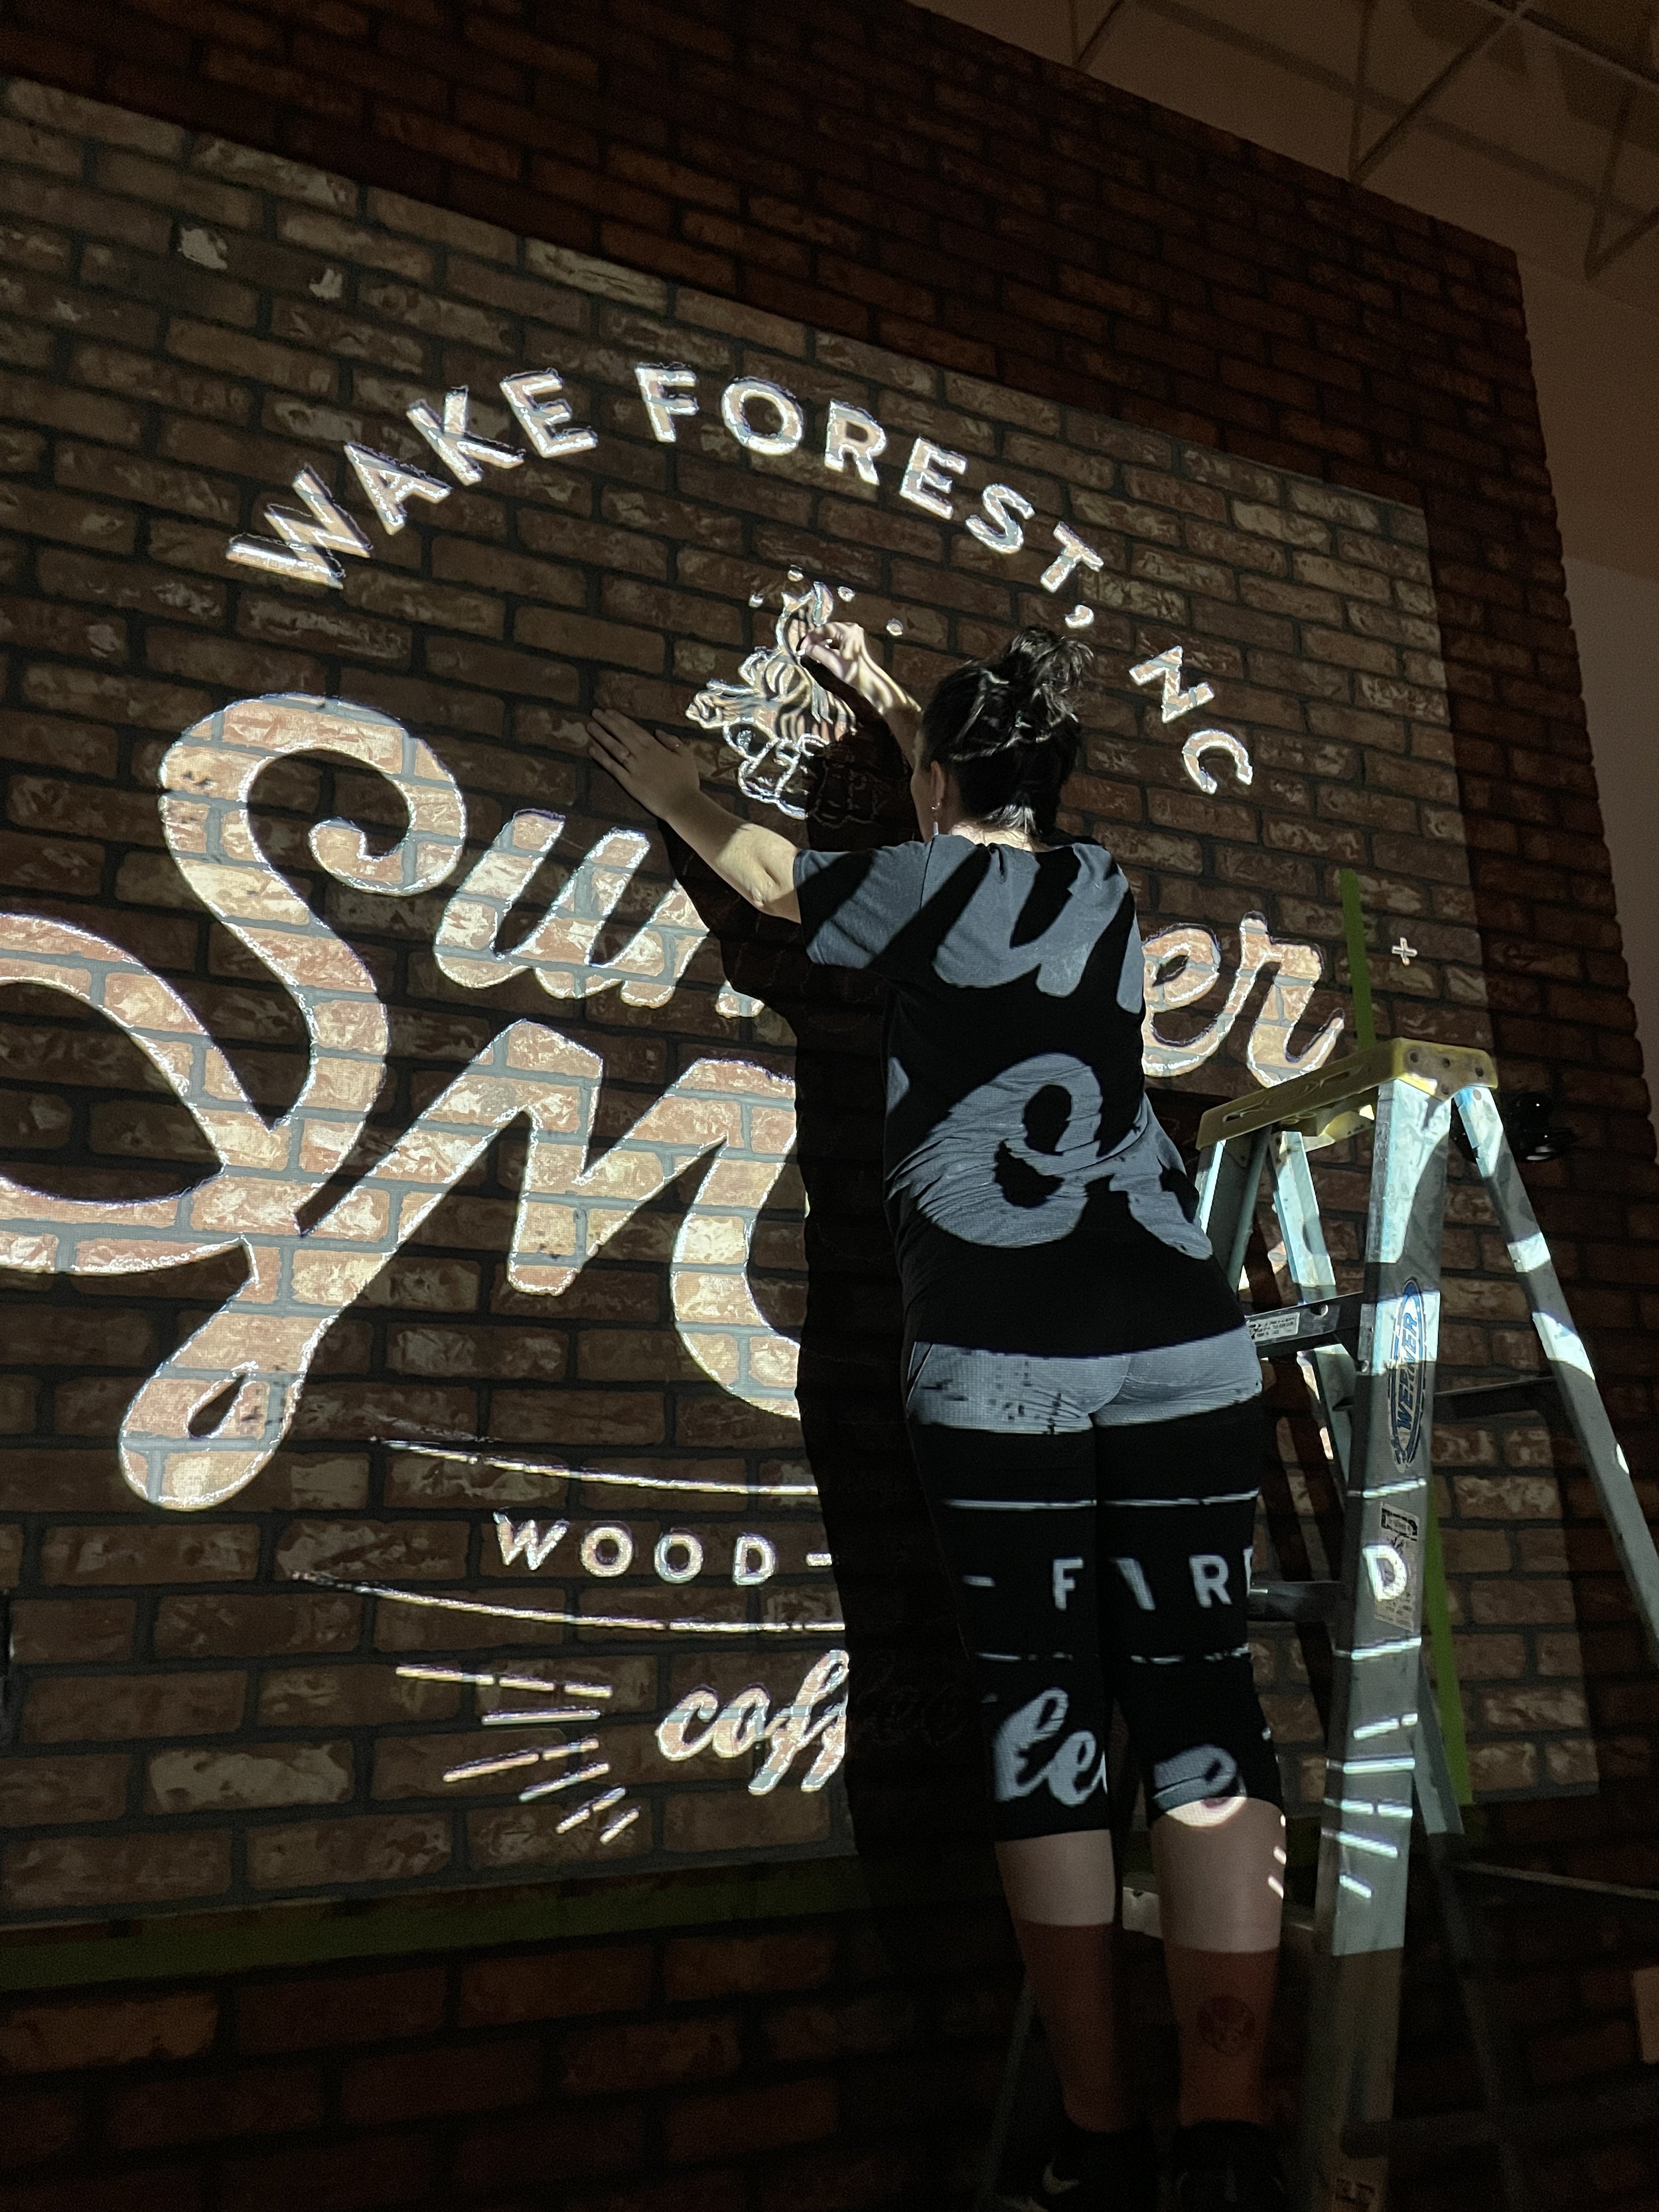
Projecting The Design
Unless you are an absolute baller at freehand drawing or lettering, and you can know the exact proportions and scale for your sub-text and illustration, then my advice is to use a projector! This is going to give you the most precise idea of size, as well as a great basis for outlining your work. But keep in mind, most projectors are going to be fine if you point them at a blank white wall, but brick is dark and sucks in a lot of light. So, you’re going to need a pretty beefy projector with a lot of lumens if you want it to show up. Luckily, our man Dan (the owner of Summer Moon in Wake Forest) was able to let us borrow one of his professional projectors (because ours just wasn’t cutting it)! So, if you don’t have a projector, never be afraid to borrow or rent one for your project.
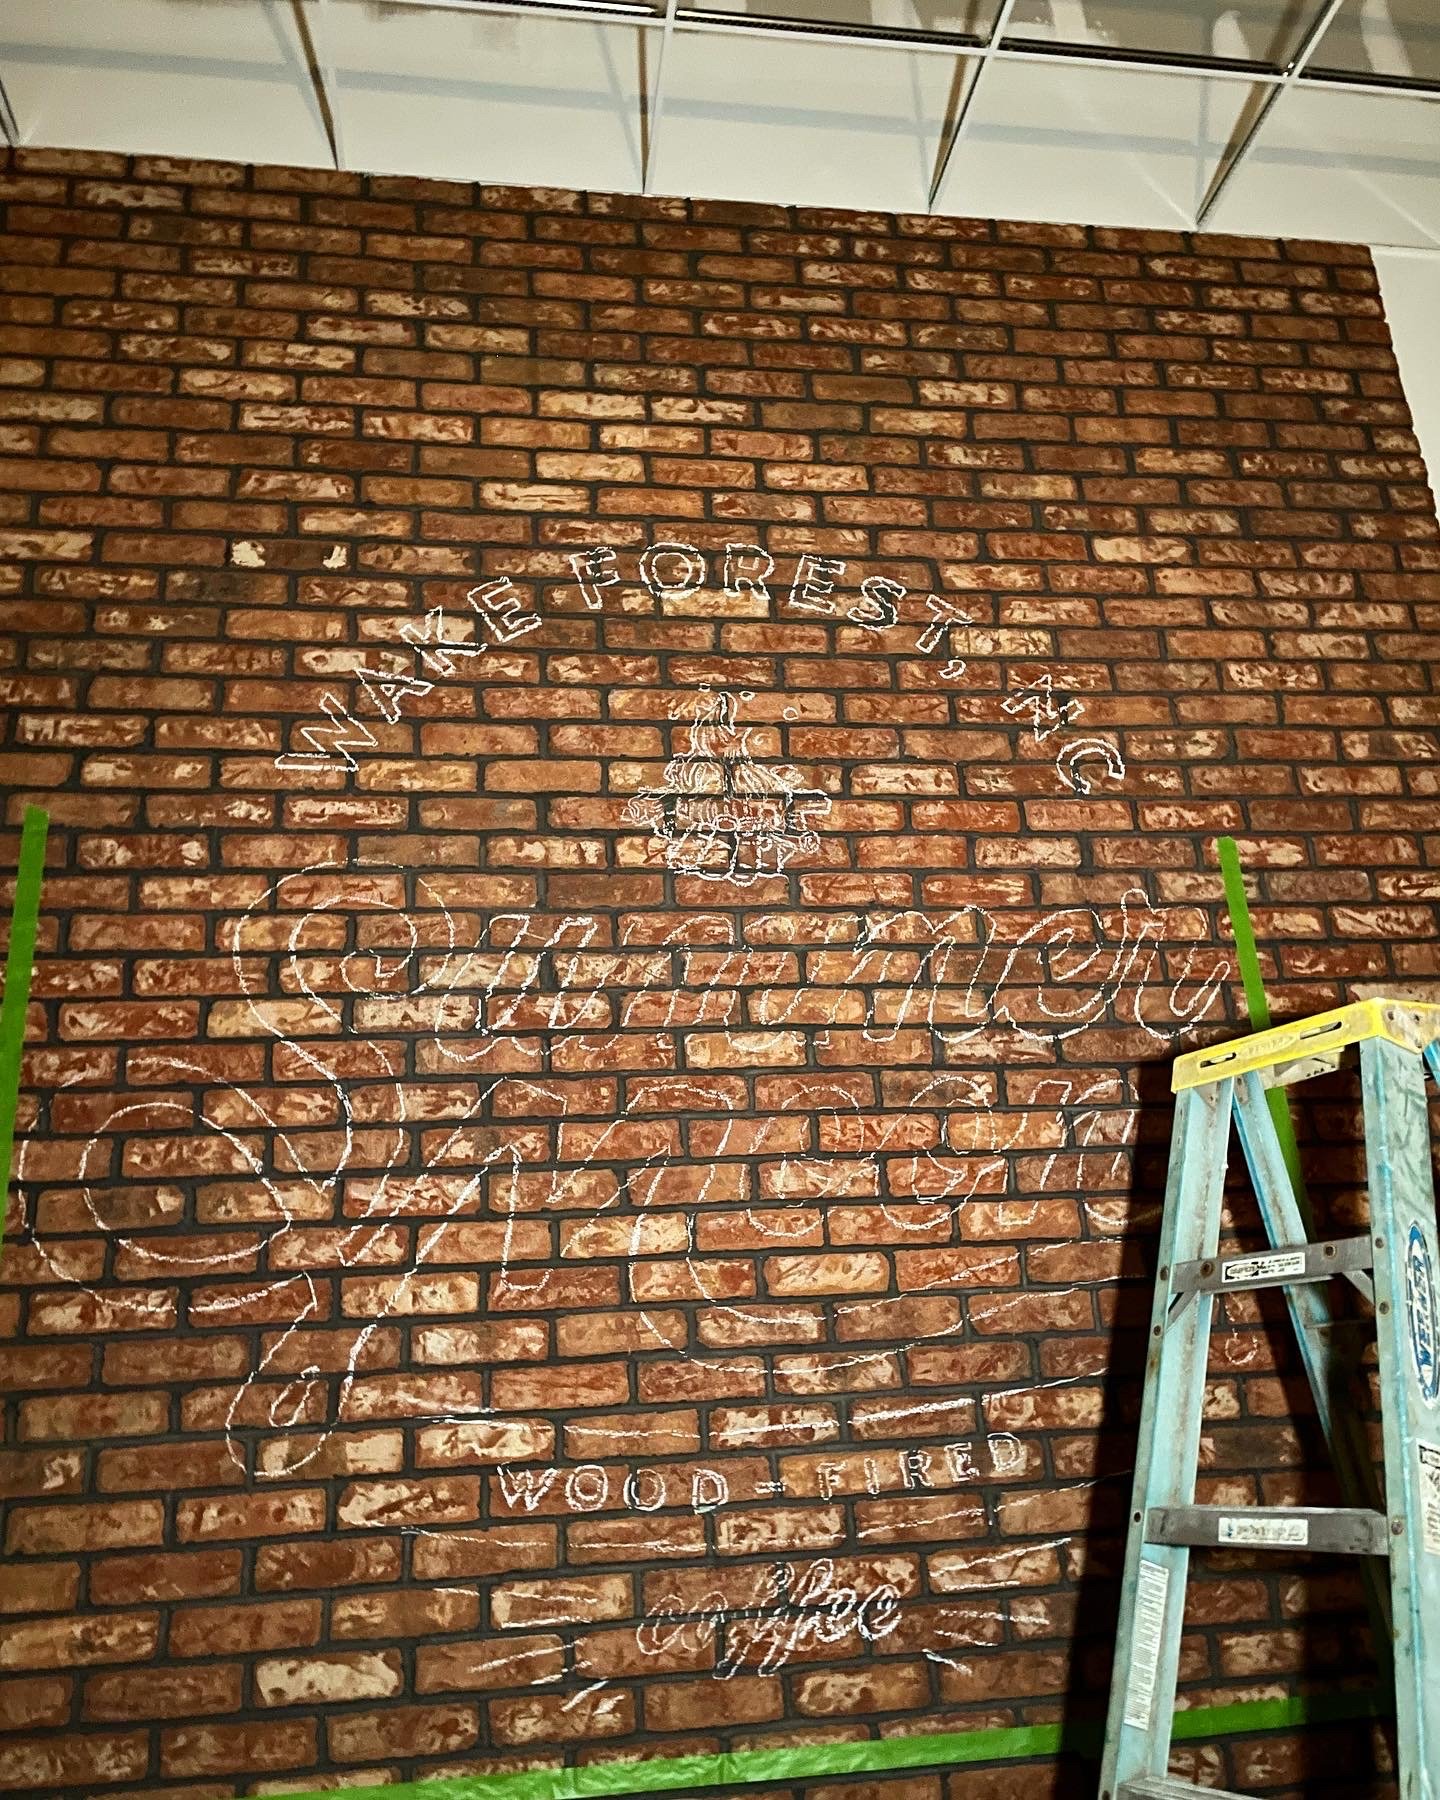
Outlining The Mural
We thought the best approach for outlining the lettering would be to use chalk, and it definitely worked quite well! The reason we used chalk is because we could be as light or as tough as we needed to be, and it would adhere really well to the brick wall. Not to mention, you can pretty much paint right on top of the chalk and it will either rub off or blend in. Or, you can use the chalk outline as your guide for filling in the empty lettering with paint, and then do touch ups on the outside (which was our method of choice). Keep in mind that in this stage, it’s super rough, and really doesn’t look that great. We didn’t need (or want) to spend a lot of time in this stage because it’s just a rough outline to make sure we’re painting in the right places.
If you’re about to tackle a mural of your own on concrete, brick, or stone, I would definitely recommend using chalk, because if you mess up, you can easily take a wet rag and wipe it away. But, it’s also sturdy as well. We left the chalk outline up for several days before we painted, and it was completely in tact when we came back.
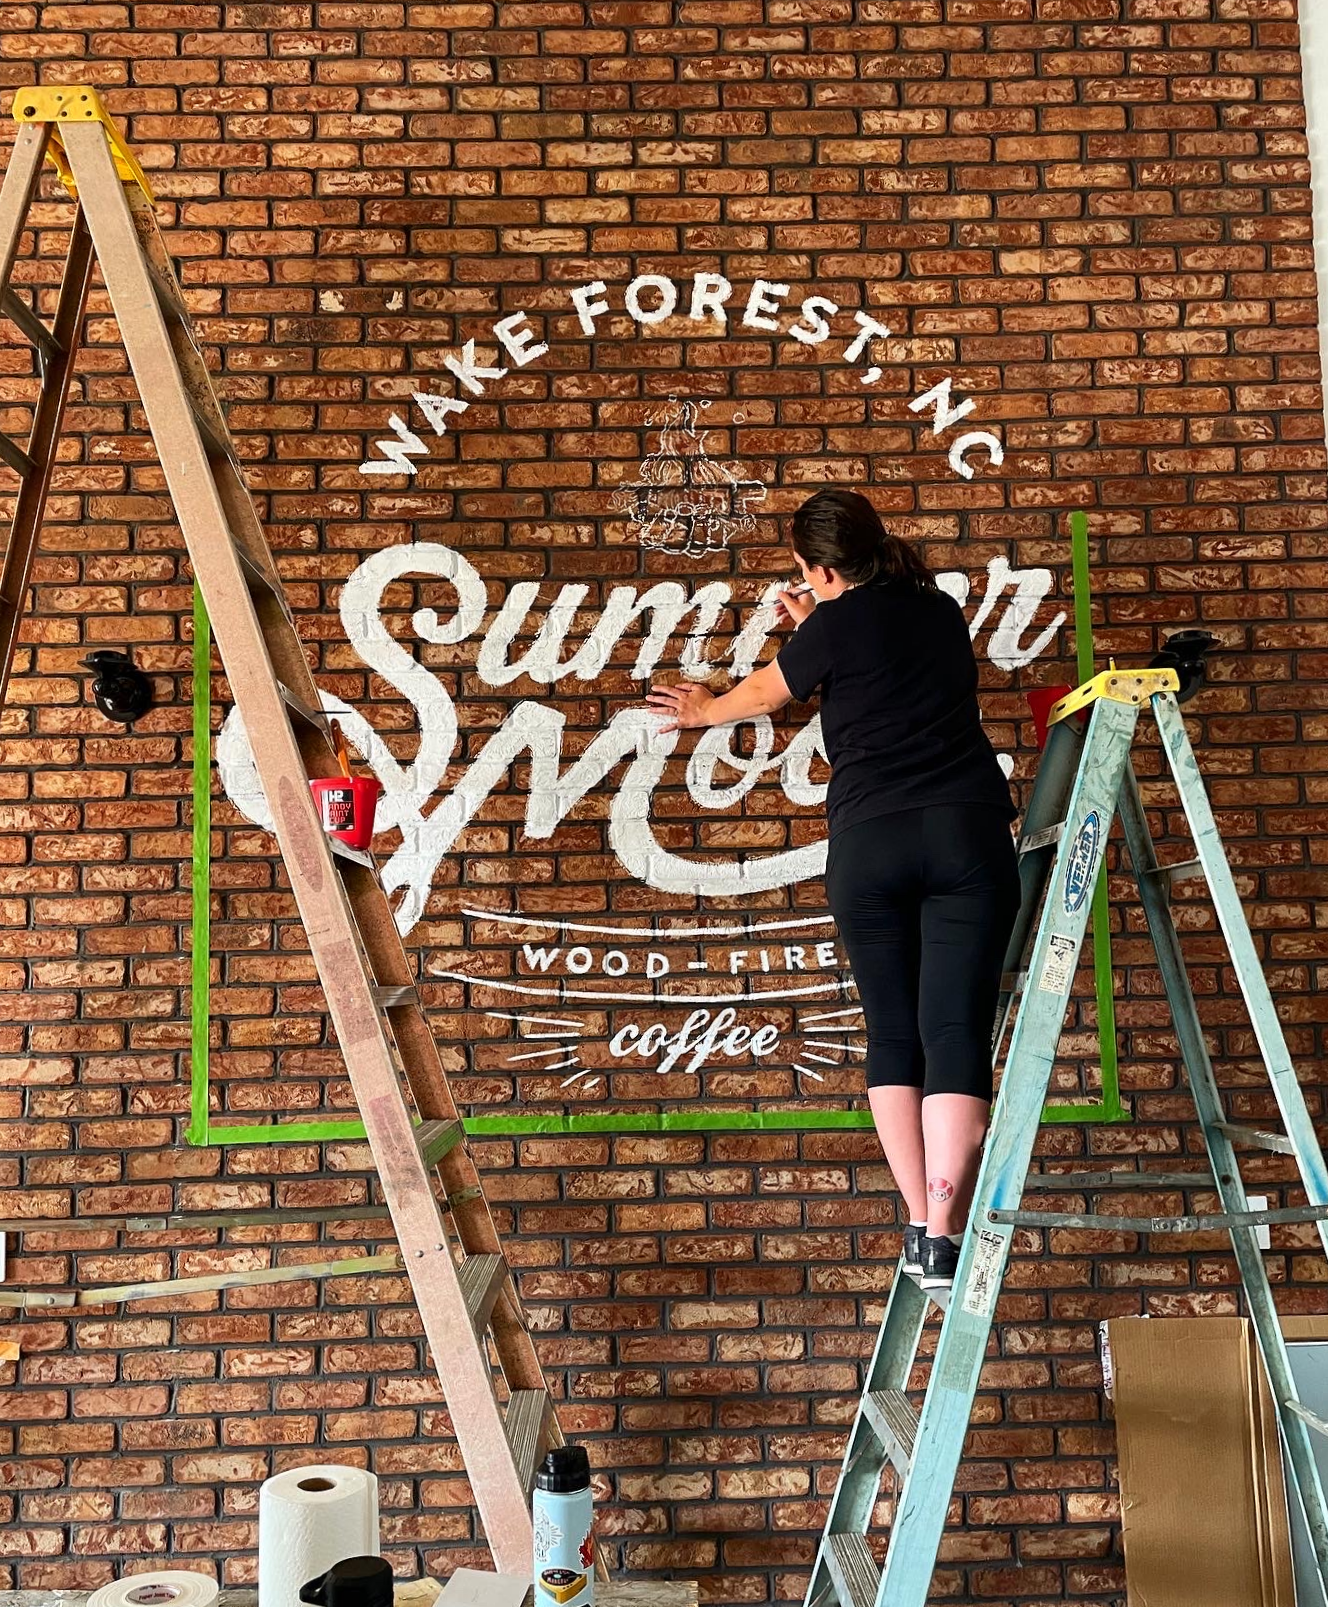
The Painting Begins!
Alright the moment you were waiting for. What paint did we use? Well that would be straight up latex paint! Nothing special, nothing out of the ordinary, just good ‘ol paint that binds well to rough objects. We used a flat 1.5 inch brush for the fatter parts of the letters, and for the super small and detailed places, we used everything from .5 size calligraphy brushes to super thin paint pens (the Posca brand), which by the way are completely shredded now, haha. The key is to just go slow. Since we were on ladders and have to balance and paint at the same time, it was important to always have a dry place to hold on-to. So if you’re going to be painting on a wall soon, think about where you’re going to start and stop.
If you mess up, don’t panic. Remember I said brick was forgiving? Well, keep reading to find out why.

The Finer Details
So there’s a lot of detail here that you might not look at and notice at first. But trying to paint those curves on the top and bottom of wood-fired took some patience. The “rays” on the left and right of the word “Coffee” were not a fast process to paint on. And the illustration up in the middle single handedly destroyed 3 fine paint pens, hahaha. But all that to say, what would happen if you made a mistake? You painted in the wrong place, your hand slipped, or my personal favorite: paint dripped off your brush onto the bottom of the wall . . .
Well the thing about brick is, it’s real dusty. Remember, cleaning your mural area is important like I said in the beginning, but that red dust will never end. But that’s actually a great thing. When we went too far out of the lines, or dripped paint by accident, we enlisted our trusty old friend: the razor blade.

Since brick is essentially just a big ‘ol block of clay, you can easily just scrap away at areas you accidentally mess up on. This makes brick almost the perfect canvas for first time muralists, because the risk is honestly way lower than painting on somebody’s painted wall in their home, where you definitely cannot just scrap away your mistake. But in this situation, to get those fine details around the letters, as well as the inside of the fire illustration, I took several hours to go around every piece and scrap away any excess or undesired paint.
Now you can’t go crazy with it. Don’t just go hack at your mess-ups, because you can leave some really wonky chunks in the brick, which is not what you want. This took about 3 hours to go around every single letter with my knife, and slowly scrap from the outside up to the edge of the lettering to give it that super clean look.
So that’s the hack I have for you when painting on brick. Always have: a bristle brush, a tough rag, and a knife. You’ll be ready for whatever comes.
Finishing Up
Well I hope you enjoyed seeing a look into our process for painting the Summer Moon mural located in Wake Forest, North Carolina. And by the way, if you happen to be in the area and want to stop there for a cup of coffee, you can find the directions right here.
Looking to work with me for a mural or lettering project like this? I’d love to hear about it and see if I’m the right fit for you! Complete the brief form below and I’ll get in touch with you asap. Thanks again for reading. Cheers!